
Nose Study
Scroll down to see final outcome
Step 1: Lines
From a reference I made simple curves which would represent the bottom of the nose, this was done to give me a good idea on the shadows of the lower area and the lightest area from the light just above it.

Step 2: Block
Next was to add the "blocky" shading to simply show how they would blend with one another, I used a soft square brush which I made myself.

Step 3: Blending
Since the mixer brush is more efficient I decided to use that for the blending, an alternative method people use is blending colours by setting the brush to transfer, I continuously select the colour until it blends. The brush I used was the default bristle brush since it uses a bit of texture.

Step 4: Colouring
The next step is simple, the colour of the skin was made through a layer using the 'colour' blending mode, I used a light, desaturated orange colour and airbrushed the area. The skin tone can be changed through brightness settings. However there are other methods but at the time I did this. The blood around the nose was made through I red airbrush and another layer set to the 'overlay' blending mode. Sometimes the red can be a bit overpowering so reduce the opacity. The lightest parts of the nose was the effect from the light source, I used a technique which involves two layers: first I had an adjustment layer which was a black solid; I had set the blending mode to colour dodge; the next step was a clipped layer which used a white airbrush creating the light. This technique it great for streaks of sunlight.

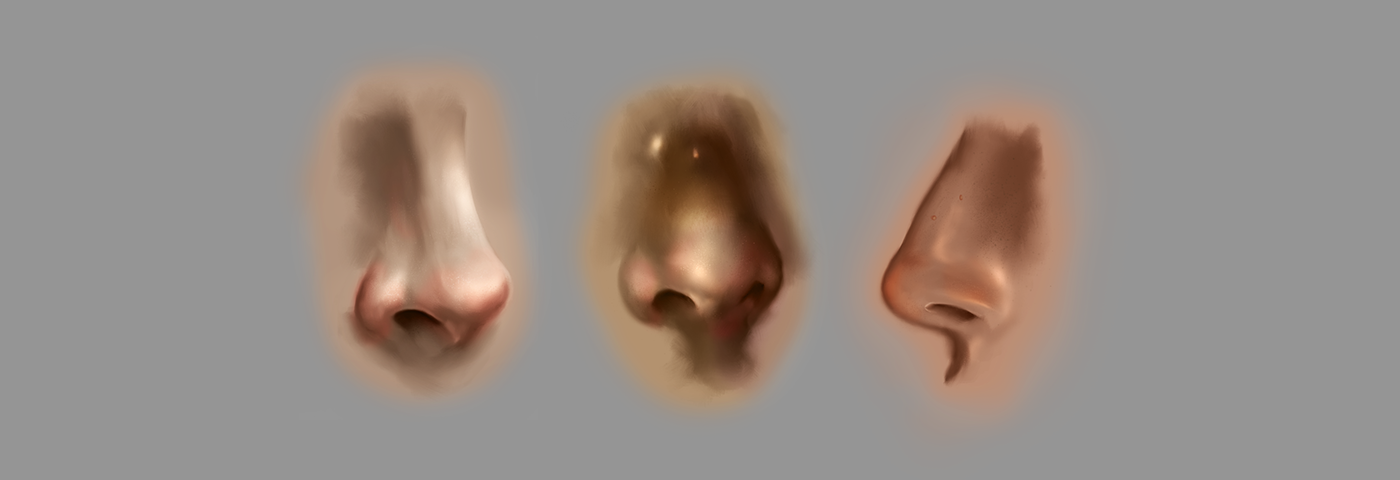
Step 5: Developing
I continued with developing these noses and tried re-creating noses that used complicating lighting and different angles.
Step 6: Texturing, Colour Dynamics and Experimenting
A particular style intrigued me so I decided to try and recreate it. I duplicated the nose around the third step where it's been blended. Next the colour I applied was through a gradient map which kept the black and white but in the middle was a dark purple leading to a warmer light colour. Next I used the colour mode and a brush set to colour dynamic to bring out more colours which I could work with. To kept a split complimentary scheme and used a colour dodge layer to bring out a pinkish highlight around the light areas. To pop the nose more I used a vibrant cool colour along with the hard light layer. I used the brushes (Right) to create the pattern which creates the abstract look, I've learnt uses the brushes with no transfer works best. This style could be achieved around the second step stage as well. Typically what you should tried to do is keep the brushes small so it creates that appearance of a nose rather than layers of brushes that have been added.


